Left-Handed Standing Desks: Control Panel & Stability
By Sofía Alvarez • 4th Apr
Finding the right standing desk isn't just about picking a frame with the longest height range or most memory presets - it's about matching that infrastructure to your body, your working hand, and your daily comfort. For left-handed professionals, this precision matters even more. Your control panel, stability platform, and work surface orientation will either support deep focus or quietly undermine it after six hours.
In my years helping teams retrofit their workstations, I've watched patterns emerge. A 5'1" designer and a 6'3" developer once shared the same desk on stock legs with identical presets. Both left-handed. The stock range missed each of their neutral elbow heights, and the single-return orientation forced both into twisted postures. When we swapped to longer legs, a thinner desktop, and reversed the return to the left, they both settled in - no more scrolling shoulders, no more wrist angle compensation. Fit beats features when your wrists and neck thank you.[1][2][3]
This guide walks you through the control and stability decisions that make a left-handed workstation truly yours - from measuring your body to configuring your desk's motor system and arranging your work zones. For model comparisons tailored to left-handers, see our best left-handed standing desks.
Step 1: Know Your Neutral Elbow Height (Your Foundation Measurement)
Before any desk lands in your space, measure yourself. This is not decorative; it's your specification. For precise posture measurements and accessory baselines, use our standing desk ergonomics guide.
What you need: A chair you'll actually use, a ruler, and ideally a helper.
- Sit in your chair at your typical work height. Your feet should rest flat on the floor or a footrest - not dangling or pressing into the seat edge.
- Let your arms hang naturally at your sides, elbows roughly 90 degrees.
- Measure the vertical distance from the floor to the underside of your elbow. This is your neutral elbow reference height.[3]
- Write it down. Add 0.5" to 1.0" to find your ideal desktop height when typing. This small clearance prevents shoulder hiking and wrist extension strain.
For left-handed users in the 5th to 95th percentile span (roughly 4'11" to 6'3"), neutral elbow heights typically range from 26" to 32" when seated. If you're outside this band or managing multiple chairs, re-measure for each.
Adjust to yourself; don't contort to your desk.[3]

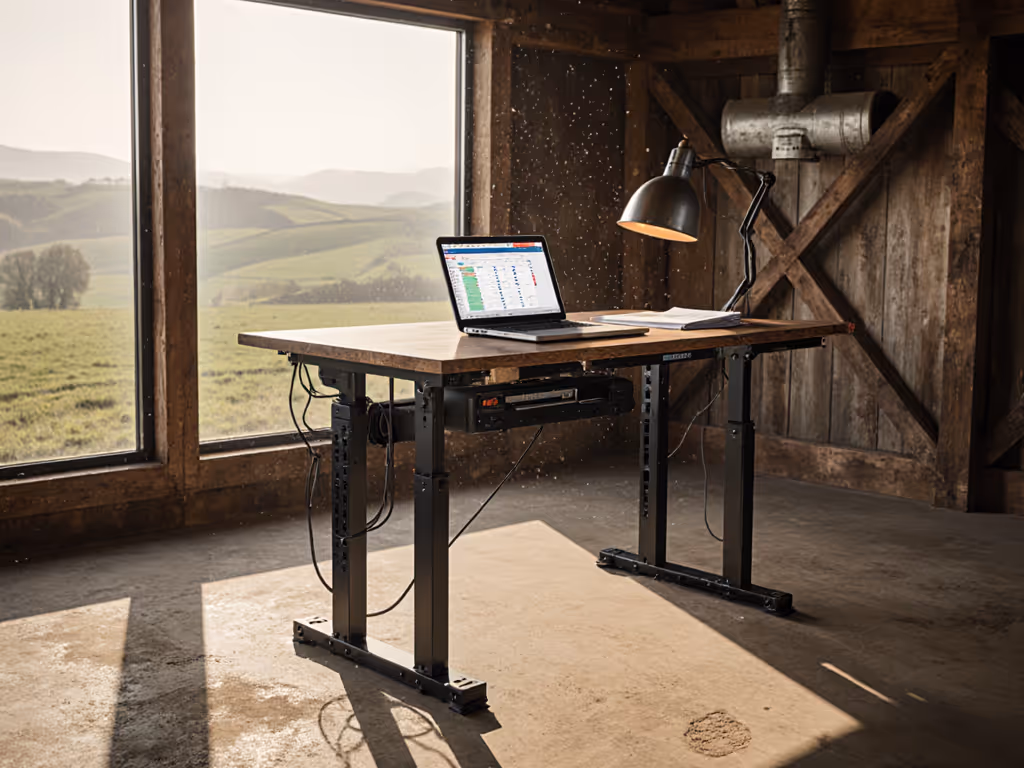
Step 2: Choose a Desk Frame with Left-Return Flexibility and Stable Leg Geometry
An ergonomic setup for left-handed work starts with the physical platform. L-shaped desks offer three distinct work zones - and the ability to mirror them for left-hand dominance.[4]
What to look for:
- Dual-motor or three-motor frames. Single-motor designs can lag between legs at height, causing tilt. Frames with one motor per leg (or dual precision motors) maintain level surfaces across the full travel range.[1][4]
- Reversible or configurable returns. The best frames let you position the return on either the left or right side, and ideally allow repositioning during assembly without cutting or drilling.[4]
- Crossbar height clearance. Left-handed users often position the return to create an L on the left; confirm the supporting crossbar won't clip your knees or block under-desk storage.[4]
- Stated load capacity with margin. If the frame is rated 400 lbs, assume real-world capacity with a monitor arm and peripherals is closer to 300 to 320 lbs. Overstatement is rampant; credible brands test with distributed weight and publish load curves, not just a single number.[4]
Memory presets matter here too. Look for 4+ programmable positions so you can lock in sitting height, standing height for focused work, and maybe a mid-height for video calls or light tasks. Frames with inconsistent controller response or motor drift tend to creep over weeks; seek reviews focused on precision drift and long-term height accuracy, not just initial feel.[1]
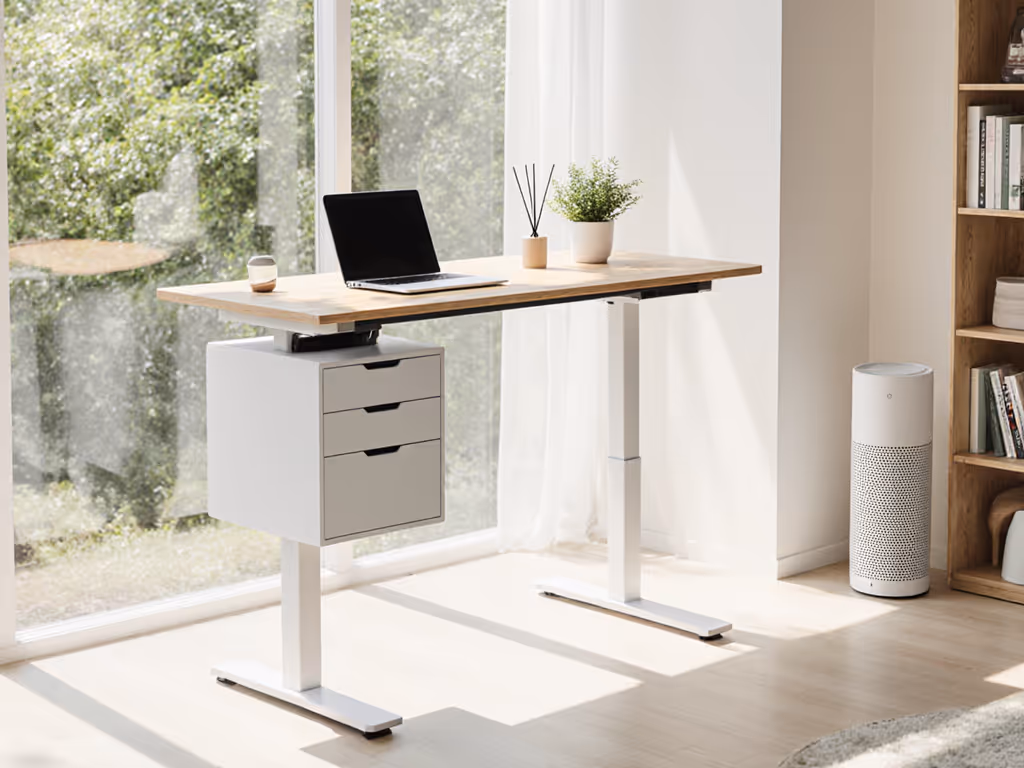
Step 3: Organize Your Work Zones for Left-Hand Dominance
Having three zones doesn't mean filling all three. It means placing what matters near your dominant hand and keeping awkward reaches away from your primary working side.
Primary Zone (15" to 17" from your torso):[4] This is your keyboard and mouse area. For left-handed users, the keyboard can shift left from center, and the mouse (or trackball, if you prefer ambidextrous ergonomics) sits to the left of the keyboard on the desktop or return.[2][3]
Secondary Zone (27" from your torso):[4] Phone, notepads, reference materials, and beverages. Position the phone on your non-dominant (right) side so reaching for it doesn't disrupt typing flow. Notepads and pen holders move to the left, within arm's length of your writing hand.[2][3]
Tertiary Zone (42" to 45" from your torso):[4] Lamps, books, rarely-used items. Left-handed users benefit from placing desk lamps on the right side so shadows don't fall across your writing or keyboard area.[2]

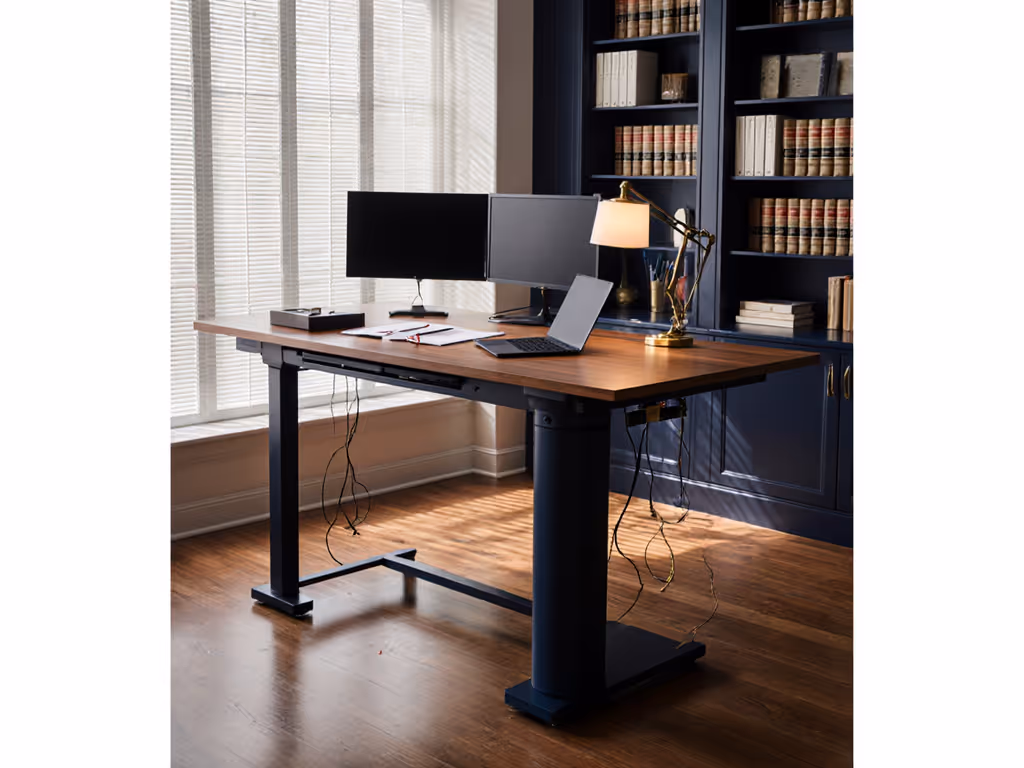
Step 4: Set Up Your Monitor for Neutral Neck Posture
Monitor height and distance are often overlooked in left-handed desk setups, yet they're critical for preventing upper-crossed syndrome (rounded shoulders and forward head posture).
Neutral positioning:[3]
- Place the monitor approximately an arm's length away (roughly 20" to 26" depending on screen size).
- The top of the screen should align with eye level when you're looking straight ahead.[3]
- If you wear bifocals, you may lower the monitor 2" to 3" so your reading zone is comfortable without tilting your head too far back.[3]
- Position the monitor directly in front of your primary (left) hand workspace, not off to one side. If you have dual monitors or an ultrawide, the left section should be your focal point.
Left-handed users sometimes get trapped using a standard rightward monitor layout simply because desks ship that way. Recenter it. Your cervical spine will thank you by week two.
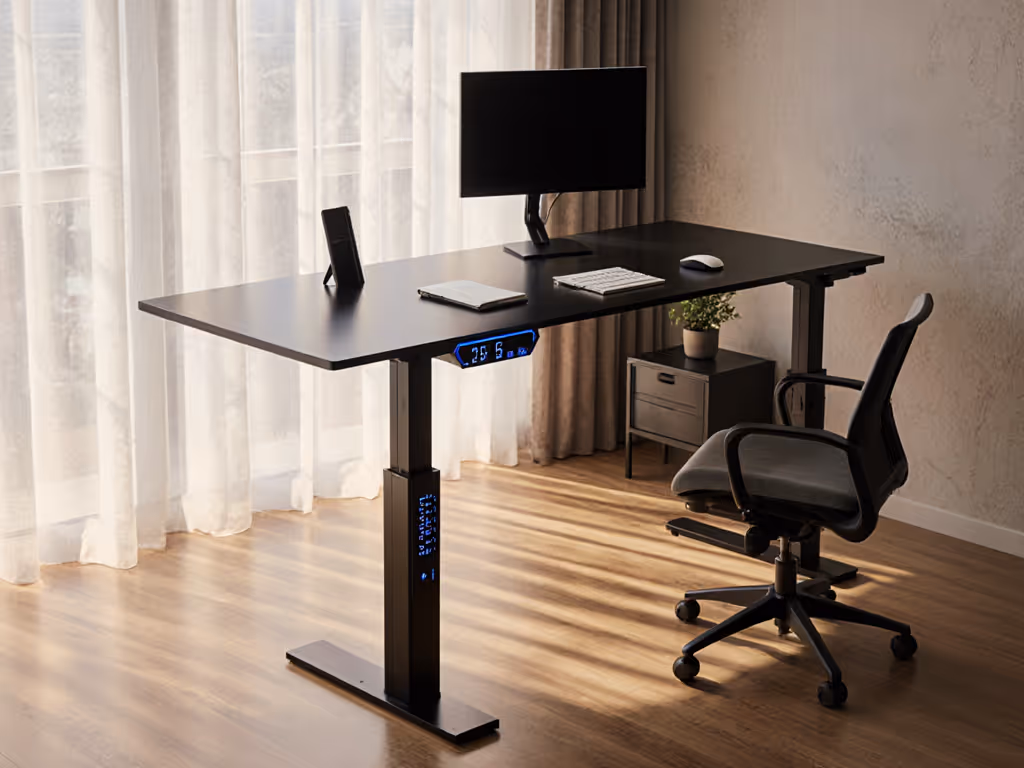
Step 5: Configure Your Control Panel and Memory Presets
The motor controller is your daily interface to stability and comfort. Treat it seriously.
Control placement:
- Position the handset or control pad on your left side (non-dominant side of your return or main desktop) so it doesn't clutter your primary work zone and is within easy reach when seated or standing.[1][2]
- Use a cable tie or Velcro strap to secure the cord so it doesn't dangle across your workspace or tangle with other cables.
Programming presets:[1][5]
- Sitting position: Set this to your neutral elbow height + 0.5"–1.0" (calculated in Step 1). Test by doing light typing; if your shoulders hunch or wrists deviate, adjust down 0.25" and re-test.
- Standing position: Typically 8"–12" higher than sitting, depending on personal preference and task. Some people use true standing (neutral elbows), others a slight lean (1" to 2" higher). Test during a full 30-minute work block before locking it in.
- Optional third position: A mid-height for video calls or transitional tasks. Label it clearly on the controller.
Test transitions daily for the first week. If presets drift (height reads differently on day 3 than day 1) or the controller stutters, contact support immediately - motor desynchronization is a sign of bearing wear or firmware issues that worsen with time.[1]
Step 6: Stabilize and Cable-Manage Your Desk
Wobble is the silent killer of remote work. Typing feels bouncy, monitors shake during video calls, and over weeks your confidence in the desk erodes. Stability requires attention to three areas:
Desktop-to-frame connection:
- Ensure all mounting bolts between the desktop and leg frame are tight. Use a hex key (usually 6 mm) and apply firm pressure - not gorilla-strength, but snug enough that they don't move when you rock the desktop by hand.[4]
- Recheck every 6 months. Vibration and thermal cycles loosen fasteners.
Cable routing:
- Run power and data cables through grommets or cable trays to keep them off the floor (trip hazard) and away from your left-hand work zone.
- For left-handed users, route cables toward the right rear of the desktop or down the right leg frame.
- Use cable clips or sleeves to prevent cables from interfering with leg movement during height transitions. For step-by-step layouts of monitor arms, keyboard trays, and mat positioning, see our standing desk accessory placement guide.
Load distribution:
- If you're using a multi-monitor arm, mount it near the center or slightly left (for left-handed primacy) so the arm's weight doesn't create a pivot point. Heavy arms magnify wobble if they're only on one side of the desktop.[4]
- Distribute weight across the desktop; don't cluster everything on one corner.
Step 7: Test Sit-to-Stand Transitions and Lock in Your Setup
Your desk is not truly yours until you've used it for a full work week and made small adjustments.
Test protocol:
- Sit at your configured height for 90 minutes (typical meeting/focus block). Note any discomfort - shoulder, neck, wrist, lower back.
- Transition to standing using your preset. Work standing for 20–30 minutes.
- Return to sitting. Smooth transition? Any lag or jerking? Any height variance from the preset?
- Repeat this cycle twice daily for 5 days.
- After day 5, adjust your presets by 0.25" if needed. Lock them in - don't reprogram unless your chair changes or you gain/lose significant height.
By day 10, if wobble persists, check fasteners (Step 6) and frame levelness (use a small spirit level on the desktop). You can also run quick phone-based wobble diagnostics to pinpoint vibration sources before contacting support. If the controller stutters or presets creep, document it with photos and contact the manufacturer.
Actionable Next Steps
You now have a framework for configuring a left-handed workstation that won't compromise your posture or productivity. Here's how to move forward:
This week:
- Measure your neutral elbow height using the protocol in Step 1. Write it down with the date.
- If you're shopping, use this number as your non-negotiable spec. Don't accept "adjusts 22" to 48"" without knowing where your target sits in that range.
- Check your current desk's presets (if any). Do they align with your measurement, or are they generic defaults? If the latter, reprogram them.
Within two weeks:
- If purchasing new, prioritize frames with dual or triple motors and a height range that brackets your measurement with at least 2" of margin above and below. This headroom keeps you in the stable middle of the motor's travel, not at extreme ends.
- Request or review the controller's specification sheet. Does it list drift tolerance, response time, or memory fidelity? Brands that publish this tend to be more meticulous.
- Confirm the frame allows left-return repositioning during assembly, or offers a left-return variant out of the box.
Within one month:
- Once your desk is in place, complete the full test protocol (Step 7). Don't skip this - it's your final fit validation. If anything feels off by week 3, it's a sign to revisit configuration or contact support.
- After stabilization, take a photo of your setup for reference. Bookmark it. If you ever change chairs, monitors, or peripherals, compare back to this baseline before re-adjusting.
The precision you invest today - measuring your body, configuring your motor presets, and organizing your zones - compounds into weeks of comfort and professional presence. A left-handed ergonomic solution isn't a gadget; it's infrastructure that shrinks to the background only when it's dialed in exactly to you.
Related Articles