Standing Desk Accessory Placement Guide
By Petra Novak • 31st Mar
You've invested in a standing desk table. Now comes the decision that separates functional from dysfunctional: where exactly does everything go? Ergonomic accessory placement isn't aesthetic whimsy (it's engineering). Get the positioning wrong and your monitor arm becomes a neck strain machine; get it right and you unlock hours of pain-free productivity. This guide approaches placement as a series of measurable, testable decisions backed by anthropometric data and real-world performance thresholds.
Why Does Accessory Placement Trump the Equipment Itself?
Most procurement teams and individual buyers focus on the desk frame or chair model. But documented research reveals a counterintuitive truth: positioning matters far more than brand prestige. When we scaled across eighty desks three years ago, two premium suppliers offered similar motor specifications. One arrived with field-service manuals and spare column kits; the other shipped a glossy brochure. When a batch of actuators stalled, the transparent partner replaced parts and kept downtime under twenty-four hours. The marketing-focused vendor needed replacements shipped overseas. That week taught us plainly: transparency and spares beat glossy brochures every single time.
The same principle holds for accessories. A poorly positioned monitor arm strains your cervical spine regardless of its load rating. A keyboard placed six inches too high triggers repetitive strain. A cable tray routed carelessly destabilizes your desk during transitions. Documented support beats promises, and proper placement is part of that infrastructure. Your accessories won't perform unless positioned within strict acceptance criteria.
FAQ: Essential Accessory Placement Questions
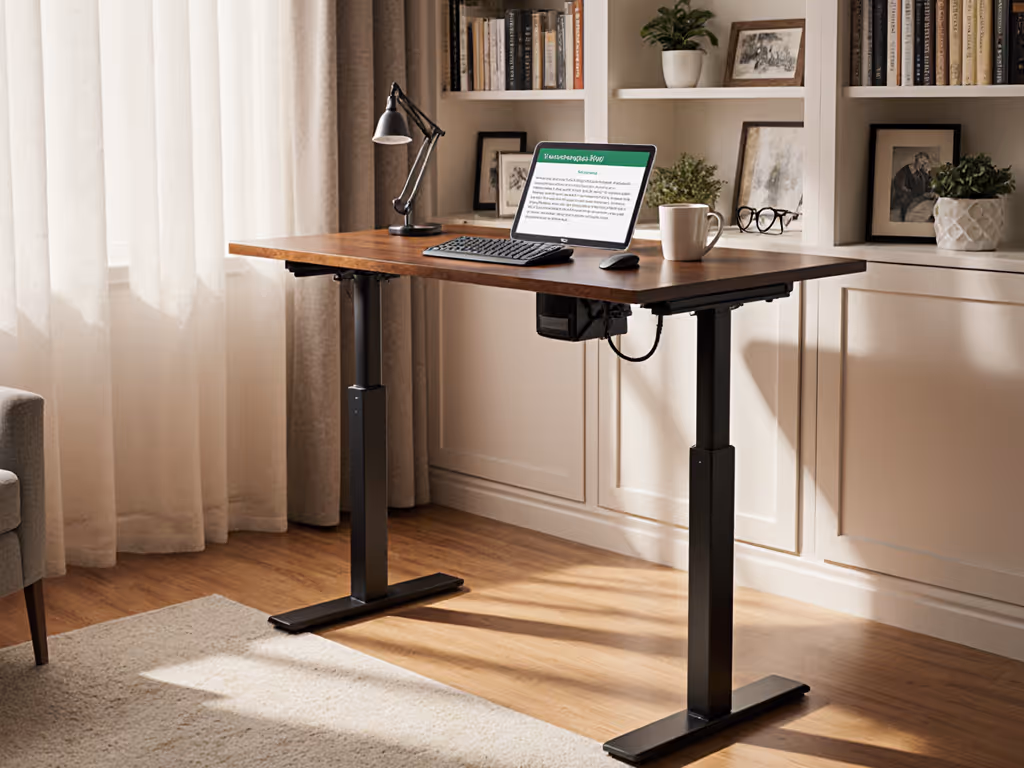
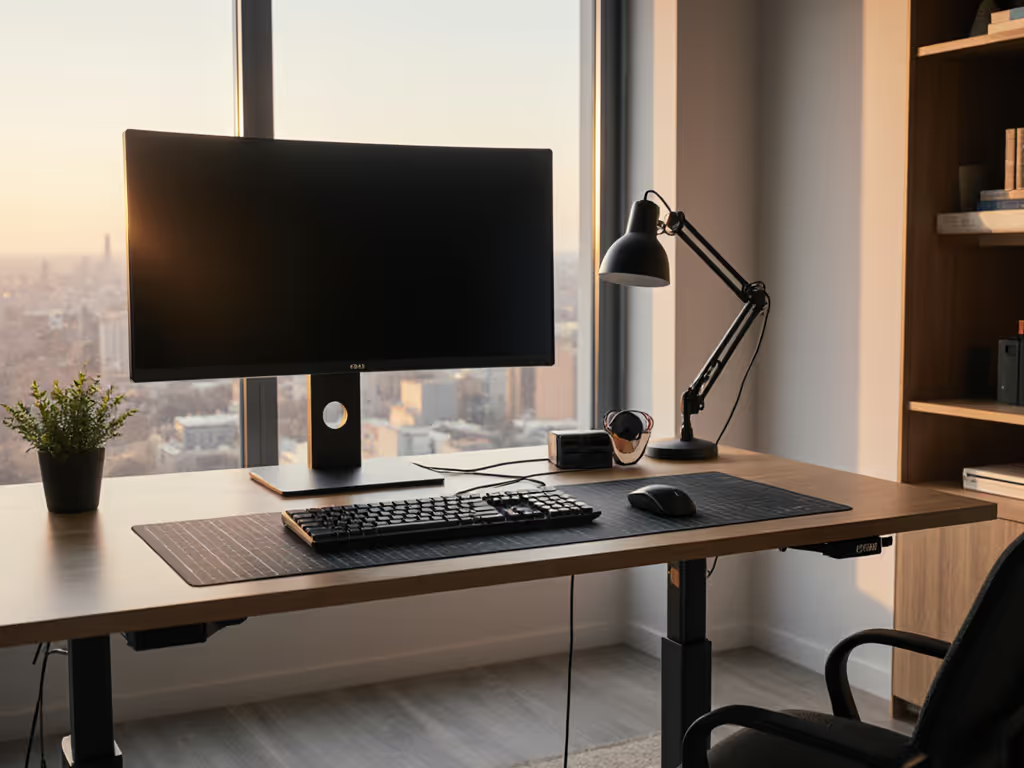
Q1: How Do I Position a Monitor Arm at the Correct Height and Distance?
Setup Rule: Your monitor's top edge should align with eye level, and the screen should sit 20-30 inches from your eyes[1].
Measurement Protocol:
- Stand at your desk at your predetermined elbow height (see below for calculation).
- Look straight ahead without tilting your head up or down. Mark that sightline.
- Position your monitor so the top of the screen intersects that line.
- Measure the distance from your eyes to the screen: it should be 20-30 inches (roughly arm's length to fingertip).
Why This Matters: Monitors positioned too low force you to crane downward, compressing neck discs and triggering upper-crossed syndrome. Screens too close cause eye fatigue and accommodation strain; too far and you'll lean forward to read. A quality monitor arm should allow you to dial in exact height, tilt, and distance without resistance[2]. For precise measurements and posture cues, follow our standing desk ergonomics guide.
Acceptance Criteria Checklist:
- Monitor top at eye level when standing naturally
- Screen 20-30 inches from your eyes
- Arm moves smoothly without drift when released
- Tilt and swivel adjustments hold position under typical load (single monitor: 10-25 lbs)
- No vibration transfer from desk movement to screen
If your monitor arm drifts, vibrates, or requires constant micro-adjustments, it has failed its primary function. Document this behavior and escalate to your vendor, as responsive SLA terms require replacement or repair within 5-10 business days.
Q2: What Is the Correct Desk Height, and How Does It Affect Everything Below It?
The 90-Degree Rule: Your desk surface should position your elbows at a 90-degree angle when your arms hang relaxed at your sides, with forearms parallel to the desk[1][3].
Height Calculation by Stature:
| Your Height | Recommended Desk Height |
|---|---|
| Under 5'5" | 36-38 inches |
| 5'6"-6'0" | 39-42 inches |
| Over 6'1" | 43-47 inches |
Critical Detail: This measurement must account for footwear and an anti-fatigue mat. If you're very tall, see our standing desks for 6'5+ users to ensure your frame's height range actually fits. Running shoes add approximately 1 inch; a typical anti-fatigue mat adds another 0.5-1 inch depending on density[1]. Measure your final height while wearing your actual work shoes and standing on your mat (not barefoot on hardwood).
Why This Cascades: Desk height determines everything downstream. If your desk is 2 inches too high, your monitor arm must angle downward awkwardly, your keyboard tray compresses your wrists, and your shoulders hunch in a perpetual shrug. One miscalibration in height propagates through every other accessory placement.
Q3: How Should I Position Keyboard and Mouse to Prevent Wrist Strain?
Placement Principle: Your keyboard and mouse should sit so your forearms remain parallel to the floor, with wrists in neutral position (not bent upward or downward)[2][3].
Execution Steps:
- With your desk at elbow height, position your keyboard directly in front of your torso, centered on the desk surface.
- Place your mouse immediately to the right (or left, if left-handed) of the keyboard, with no reaching sideways.
- Both devices should allow your forearms to rest parallel to the desktop surface.
- Your wrists should remain straight, not angled up or down.
Why Proximity Matters: A mouse positioned six inches away from your keyboard forces your arm into a reach posture, increasing strain on rotator cuff muscles and triggering lateral epicondylitis (tennis elbow). A keyboard tray can help bring both devices into your neutral zone (the area where you can type and point without reaching, typically within 8-12 inches of your torso)[2].
Stability Consideration: Ensure your desk has sufficient depth (24-30 inches minimum) to accommodate both input devices without overhang. Cantilevered peripherals increase wobble during typing, especially on motorized bases that shift under load.
Q4: Where Should an Anti-Fatigue Mat Be Positioned?
Placement Rule: Center the anti-fatigue mat under the primary standing zone (the area where your feet rest when working at your desk)[1].
Specification Guidance:
- Mat dimensions should accommodate your natural stance width (typically 18-24 inches).
- Thickness: 0.5-1 inch is optimal (thicker mats reduce proprioceptive feedback; thinner ones provide insufficient pressure relief).
- Material: Closed-cell foam or gel-based compounds should retain elasticity after 1-2 years of daily use.
- Edge beveling should prevent tripping hazards.
Testing Protocol: Stand on the mat for 30 minutes. Does pressure dissipate across your arches and balls of your feet, or do hotspots develop? A quality mat should reduce static standing fatigue by 25-40% compared to hard flooring[1].
Critical Note: Anti-fatigue mats are not substitutes for movement. Alternate standing and sitting every 30-60 minutes. A mat extends your standing tolerance but does not eliminate the need for position changes. Get a step-by-step transition plan to alternate sitting and standing without fatigue.
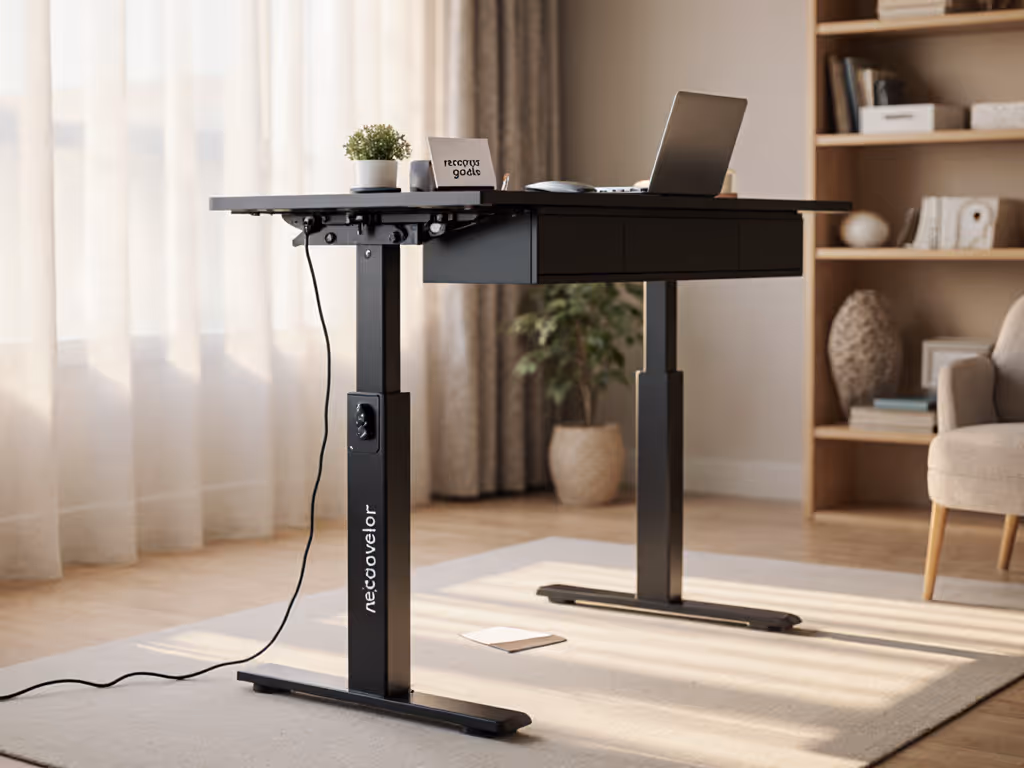
Q5: How Should Cable Management Be Positioned Relative to Desk Movement?
Infrastructure Principle: Cable trays and management systems must be mounted to the desk structure (not the floor) so they move in synchrony with your desk during height transitions[5].
Placement Protocol:
- Mount an under-desk cable tray securely near the rear underside of the desk, using the desk's mounting points (not the legs or cross-braces).
- Verify all mounting hardware is tight and test for movement or instability before routing cables.
- Route cables in a gentle curve (not tightly coiled) to accommodate desk height changes without tension or pinching.
- Group cables by device (e.g., monitor cables together; power bricks together) to simplify future adjustments.
- Hide power strips inside the tray or discretely below the desk surface (do not suspend them from loose cables).
Acceptance Criteria:
- Cable tray is rigidly mounted and moves with the desk
- No cable tension when desk reaches minimum or maximum height
- Cables are grouped logically and color-coded (optional but recommended)
- Power distribution is accessible but hidden from camera view
- No tripping hazards or dangling connectors
Failure here introduces risk: cables can snag during height transitions, destabilizing your desk or damaging ports. Poor cable management also creates a visual impression of disorganization during video calls, a seemingly trivial detail that undermines professional presence.
Q6: How Does Accessory Placement Impact Desk Stability?
Stability Principle: Every accessory you add (monitor arm, keyboard tray, cable tray) shifts the center of gravity and increases lateral forces during transitions[4]. Proper placement distributes load evenly and minimizes wobble.
Load Distribution Rules:
- Horizontally: Position your heaviest accessories (multi-monitor arm) near the center of the desk, not cantilevered at the edge.
- Vertically: Heavy items (power bricks, external drives) should sit on the desk surface or in a tray directly above the legs, not suspended from cables.
- Fore-Aft: Avoid concentrating load toward the front of the desk; center your keyboard and monitor over the base's footprint.
Testing Threshold: With all accessories in place, press down firmly on each corner of your desk surface. You should feel zero wobble or flex. Running three displays? Our triple-monitor stability picks show which frames stay rock-solid under heavy loads. If the desk exhibits any movement, reposition accessories or add a cable tray for lateral bracing.
Vendor Transparency: Request your desk frame's weight capacity specification with all accessories installed (not the frame alone). Many manufacturers cite frame capacity (200 lbs) but do not account for monitor arms, trays, and peripherals that can add 40-60 lbs. A transparent vendor provides a cumulative load matrix; a sales-focused one ignores the question.
Q7: What Are the Spacing Guidelines Across the Entire Setup?
Anthropometric Spacing:
- Monitor to eyes: 20-30 inches (one arm's length).
- Monitor width from edge of desk: Monitor should not extend beyond the desk's edge; allow 1-2 inches of clearance on each side.
- Keyboard to monitor: 4-6 inches back from monitor (allows comfortable forward-arm reach).
- Mouse to keyboard: 0-3 inches (immediately adjacent; no gap).
- Legs to knee clearance: Ensure the desk's crossbar or cable tray does not contact your knees when seated; 20 inches of under-desk height is a practical minimum.
Total Desk Depth Requirement: For a standard single-monitor setup, 24 inches is minimum; 30+ inches is optimal if you use multiple monitors or add peripheral storage.
Why Spacing Matters: Undersized desks force compromises (keyboard pushed forward, monitor too close, cables hanging in leg space). These cascading micro-adjustments accumulate into chronic pain and reduced productivity. Conversely, a properly spaced setup operates at full efficiency with minimal compensatory movement.
Bringing It Together: A Pilot Approach
Most people assemble a standing desk and assume it's "correct" if it does not hurt immediately. Correct placement requires deliberate testing. Start with one accessory, position it per the guidelines above, work for a week, and document any discomfort or instability. Add the next accessory and repeat. This pilot methodology reveals how each piece contributes to (or detracts from) your overall comfort and setup robustness.
If wobble, drift, or pain emerges after placement adjustments, escalate to your vendor with specifics: "Monitor arm drifts 0.5 inches after 2 hours of typing" is actionable; "it feels wobbly" is not. Vendors who respond with replacement terms (5-10 business days) and spare-part availability are worth future business. Those who dismiss concerns or delay replacements have failed their SLA and should not be used for future rollouts.
Your standing desk setup is infrastructure. Treat accessory placement as an engineering discipline, not an afterthought. The small precision investments upfront prevent months of pain and hundreds in remediation costs down the road.
Related Articles