Ergonomic Standing Desks for Seniors: Stability & Safety
By Mei Lin • 3rd Mar
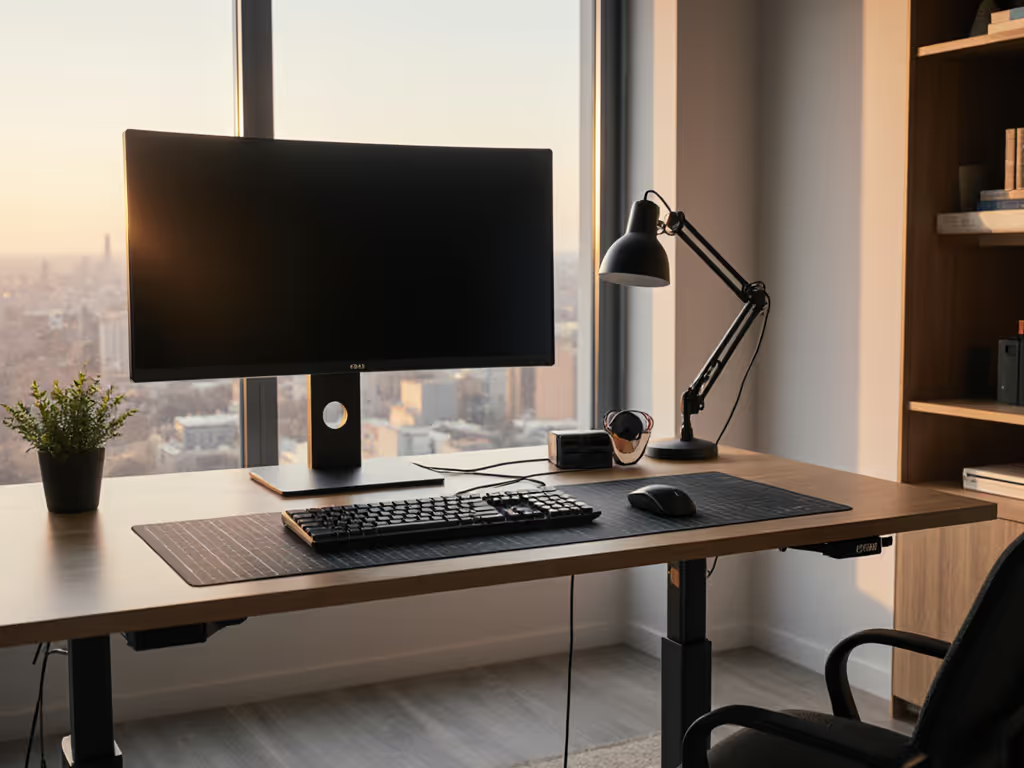
Choosing a modern standing desk that prioritizes stability and ease of control becomes increasingly important as we age or spend long hours working at home. For seniors and safety-conscious professionals, a wobbly desk isn't just annoying, it undermines focus, erodes confidence during video calls, and risks fatigue or injury. An ergonomic desk built with proper bracing, adjustable controls, and a height range tailored to your frame transforms your workspace from a frustration into a reliable tool for deep work.
This step-by-step guide will help you identify the features that matter most and assemble a desk that stays steady, adjusts smoothly, and supports safe, productive work at any height.
Step 1: Measure Your Height Range and Verify Desk Adjustment Span
Start by noting your seated and standing eye level, as this determines whether a desk will actually fit your body.
Your measurement checklist:
- Stand barefoot and have someone measure from the floor to your eyes (record in cm)
- Measure from the floor to your elbow when arms hang naturally at your side
- When seated in a standard chair (43 cm seat height), measure from floor to elbow
- Note the height of your current monitor or the shelf you'd place it on
Most modern standing desks offer a lift range of approximately 27 inches (68.5 cm), spanning from 27 to 50 inches (69 to 127 cm) at the desktop surface. This range suits users from roughly 5'2" to 6'3", but verify your specific brand's table: very tall users (>6'2") or petite users (<5'3") sometimes find the upper or lower extremes inadequate.
Tidy equals usable: a standing desk matched precisely to your frame reduces awkward repositioning and the cable tangles that follow.
Once you've confirmed the desk reaches your seated and standing keyboard height with elbows at 90 degrees, move to stability, the foundation of safe, long-term use.
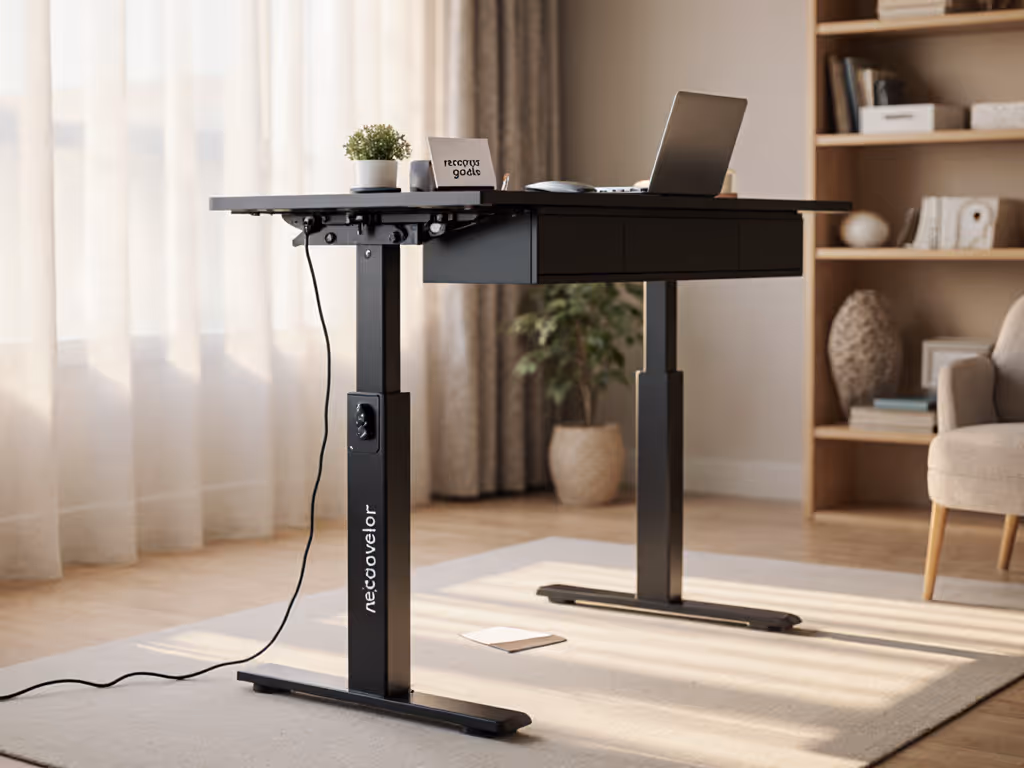
Step 2: Prioritize Cross-Bracing and Stability at Full Height
Stability isn't optional, especially for seniors or anyone prone to balance concerns. When a desk raises to full standing height, lateral forces on the frame multiply. A well-designed aging-in-place desk or senior-friendly workstation includes engineering details that most buyers overlook.
Core stability features to confirm:
- Traditional cross-brace or X-support system: A diagonal brace running front-to-back acts like the X-bracing found on suspension bridges, significantly reducing wobble. Without it, or if it's undersized, the desk will rock side-to-side when you type or lean.
- Top and bottom glides: These fill gaps between the vertical legs and prevent play that amplifies as the desk rises. Desks without both top and bottom glides are prone to column sag and increased wobble at height.
- Rigid foot design: Feet made from formed steel or molded aluminum resist flexing better than plastic or thin stamped steel. Weak feet transmit vibration and rocking up through the entire frame.
- Dual motors: A desk with two synchronized lift motors (one per leg column) distributes load evenly, reducing drift or desynchronization that causes tilting or binding.
Before purchase, search for independent stability tests (such as wobble-meter scores) or user reviews mentioning motion at standing height. A score of 0 to 20 on a standardized test equals excellent stability; 21 to 30 is acceptable but noticeable to some users. Test in person if possible: grasp the desktop edge at standing height and apply moderate side-to-side pressure. A good desk should not visibly deflect or creak. For step-by-step diagnostics to fix wobble and noise, see our wobble diagnostics guide.
Step 3: Choose Simple, Responsive Controls (And Test Anti-Collision)
Seniors and users prioritizing safety benefit from intuitive controls that don't require memorization. Desks are typically managed via a small panel fixed to the frame, with buttons for incremental adjustment, height presets, and optional countdown timers that prompt standing intervals.
Control system essentials:
- Large, clearly labeled buttons: Avoid tiny or unlabeled controls. A button for "up," "down," and 2–4 memory presets should be all you need.
- Clear height readout: A digital display showing current height in inches or centimeters removes guesswork and helps you confirm you've reached your seated and standing targets.
- Responsive memory presets: Set your keyboard height for seated work and your standing height once, then recall them with a single press. Drift (where presets change over time) is a common frustration; avoid brands with poor reviews on this point.
- Anti-collision sensitivity: Most desks now include obstacle detection: if the desk hits something while descending, it stops and reverses. Test that this works smoothly and doesn't trigger false alarms.
A responsive, reliable control system removes cognitive load and builds confidence, especially if arthritis or tremor makes precise button-pressing difficult. For condition-specific recommendations like touchless controls and grip-friendly interfaces, see our arthritis standing desk guide. Easy control desks that rely on a single familiar interface reduce the chance of accidental mis-adjustment.
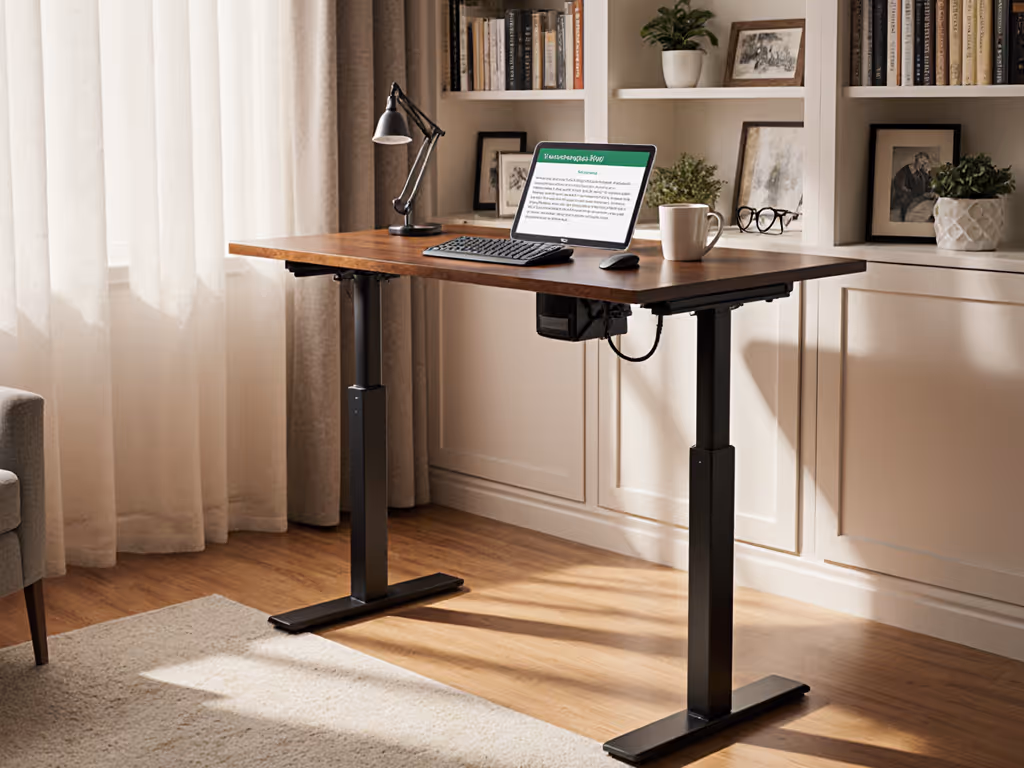
Step 4: Cable Management and Underdesk Safety
Cables drooped beneath a desk create trip hazards, snag on clothing, and visually clutter your workspace. A single cable trunk running down one leg and routed through a channel or tray keeps everything hidden and safe.
Cable management checklist:
- Route all cables (power, USB, monitor, headphone) into one or two vertical bundles running down the rear leg, not scattered across the frame.
- Use cable ties or sleeves rated for the number of wires (typically 3–5 mm diameter per tie). Avoid over-tightening, which can damage shielding.
- Confirm crossbar height and knee clearance: If your desk has an X-brace or horizontal support, ensure it sits high enough (typically >20 cm above floor) so you can stand comfortably and won't bang your shin if you shift position.
- Check for desktop grommet placement: A single grommet (cable pass-through hole) near one corner keeps wires grouped and reduces the temptation to drape them over the edge.
- Label cables at both ends (e.g., "Monitor power", "USB hub") so you can trace them later without confusion.
Clean cabling not only looks professional on video calls, it also eliminates distractions and makes it easier to safely adjust the desk height without snagging a cable under the rising frame.
Step 5: Establish Your Ergonomic Baseline and Adjust Over Time
Once your desk is stable and controls are intuitive, fine-tune height and posture to minimize strain. Use our standing desk ergonomics checklist for exact monitor and keyboard measurements.
Seated position:
- Keyboard and mouse at or slightly below elbow height so forearms are roughly parallel to the floor
- Screen at arm's length away (50–70 cm), with the top of the screen at or slightly below eye level
- Back supported by your chair, feet flat on floor or footrest
Standing position:
- Elbows bent at ~90 degrees, keyboard at the same height as seated
- Feet hip-width apart, weight balanced
- Screen still at eye level; resist the urge to tilt your head down to a lower monitor
- If you feel fatigue after 20 to 30 minutes of standing, alternate sitting and standing every 30 minutes rather than standing for hours on end
A desk that allows frequent position changes (sitting in the morning, standing mid-morning, returning to sitting after lunch, then standing again) reduces fatigue and the risk of repetitive strain. The ability to alternate smoothly depends on a responsive senior mobility desk with predictable presets and whisper-quiet motors that don't startle or discourage transitions.
Actionable Next Steps
- Measure and document your seated and standing elbow heights (in cm). Cross-reference them against each desk's advertised range to eliminate mismatches upfront.
- Prioritize independent stability reviews or test videos over marketing claims. Look for mention of cross-bracing, glides, and foot design; treat wobble-meter scores as objective data.
- Request or view the control panel and anti-collision system in action, either in person or via unboxing/setup videos from verified buyers.
- Plan your cable route before assembly: decide which leg gets the vertical trunk and whether you need a cable sleeve or tray to keep wires tidy and off the floor.
- Set your seated and standing presets once you're assembled, test them five times in succession to confirm they hold, and note them on a label affixed to the desk frame for future reference.
- Start with 20-minute standing intervals and gradually extend as your legs and feet adapt. Monitor for any pain or imbalance, and adjust monitor height or footwear if needed. For a gradual, day-by-day plan that prevents soreness, follow our standing desk transition guide.
A rock-solid desk is your partner for years of focused, pain-free work. For long-term peace of mind, consider models with a 20-year standing desk warranty and responsive support. Invest in stability, test the details, and you'll forget about wobble entirely, leaving your mind free for the work that matters.
Related Articles